Mar 21, 2023 | Retail Pro Prism
Replicating historical records in Retail Pro Prism
There are instances when past data may need to be sent to stores or up to your Point of Authority (POA).
For instance, consider this situation: you just added a new day-to-day profile with the CUSTOMER resource to replicate this data type. There is an invoice or sales order from the past few days which did not replicate through your existing day-to-day profile due to another issue that is now resolved.
When your day-to-day profile looks for data to send, it looks for new data to send by looking at the created/modified date and time. It does not send records older than the last replication time of that data type, so the invoice or sales order that did not replicate will not be automatically sent over in subsequent data exchanges.
At this point you have the following three options for sending or re-sending data.
1. Initialize
Unless otherwise specified through advanced filters, initialization sends all records regardless of time stamps.
This is often the right approach when you are adding a new day-to-day profile and there is a large quantity of data to be sent.
Remember, with the initialization process you have the option of re-sending everything or just the resource you need.
2. Use the Resend tool
The Resend tool allows you to easily resend data using simple filters.
For example, you can resend all receipts created from April 14, 2020, to April 21, 2020.
The tool provides a quick way to send a small data set regardless of whether or not that data may have already been sent.
If the records already exist in the target database, this will update (overwrite) those existing records.
Tech Support can provide this tool to you upon request.
3. Edit the record(s) you would like to send
Making a small change such as adding a comment to a receipt or adding a title to a customer - you can even reverse the change after making it - changes the Edit Date/Time on the record so your day-to-day profile will see that the record has been changed and then attempt to send it.
Troubleshooting Send Failures
These sending methods are helpful when trying to troubleshoot why a particular record is not sending, because you can look through your day-to-day messages in RP Prism and see reasons for failures.
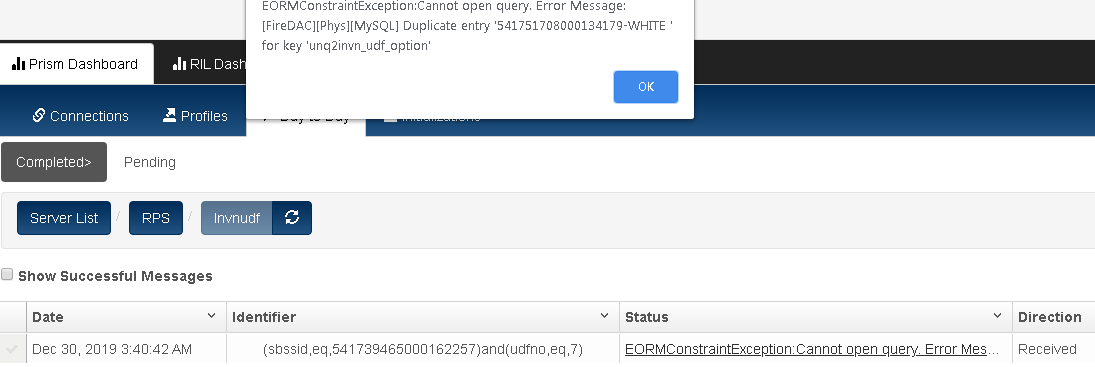
Finding error messages in Day-to-Day messages
1. Find the resource with failures and click the checkbox.

2. Click the link under status to see a detailed error message.
Finding error messages in the PrismMQ log
You can also find more information about why a particular record isn't replicating in the PrismMQ log.
1. Navigate C:\Program Data\RetailPro\Server\Conf\PrismDRS.ini (note that the ProgramData folder is hidden).
2. Change the LogLevel to 3 (verbose logging for more information) and the BufferSize to 0. Setting the BufferSize to 0 means that any information processed will get sent to the logs immediately rather than waiting for a larger chunk of data to send all at once.
3. When you then attempt to replicate the record through any of the above methods, you should see information about the record on the PrismMQ log.
The error will typically appear at the beginning or end of the information for that record.
This log file will show you the problem (error entries) and is also very useful when communicating with your support technician if you need to escalate and request assistance. See example below.
