X-Out Reports
An X-Out report provides a snapshot of sales activity for a specific time range. You can filter the report by various elements, including date range, subsidiary, store, workstation and cashier. Remember, X-Out reports are temporary records and are NOT saved to the database.
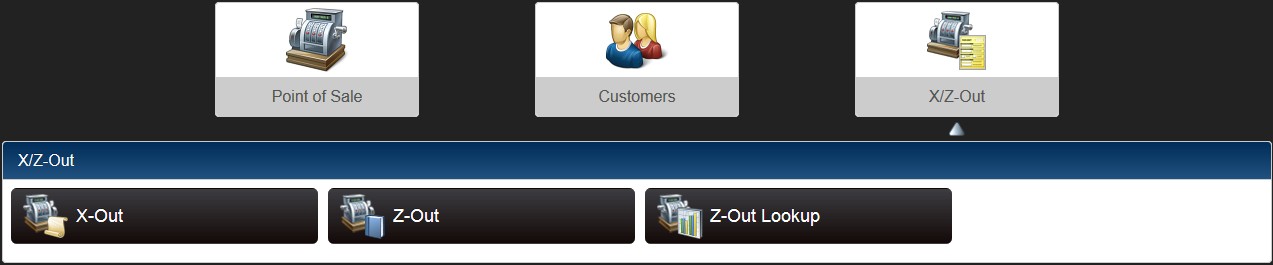
Select Point of Sale > X-Out from the main POS screen.
Select filter criteria. Refer to the table that follows for information about the available filter fields.

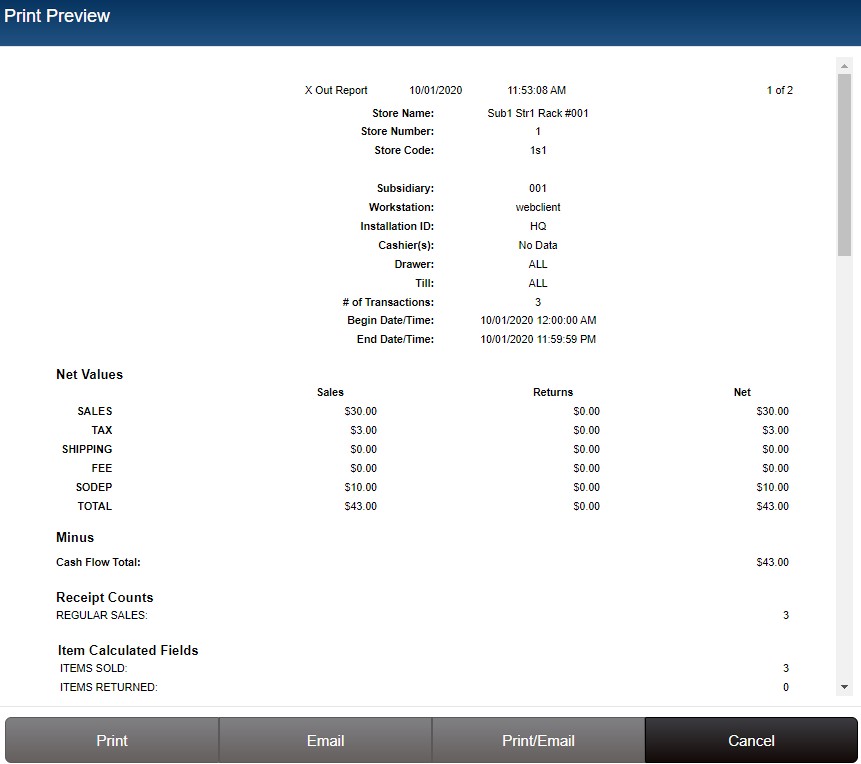
Click Print button.
Depending on how Print Preferences are configured, you may be prompted to select a Print Design, Printer and other elements. Click Print/Email to continue. Click Preview to preview the report.
X-Out Filter Fields
| Field | Description |
|---|---|
| Start Date/End Date | The default date range is midnight of the current date to the current time. To use a different date range, touch or click the Start Date and End Date buttons to display a calendar. Select the desired date. Touch or click OK to close. By default, the current date and time is entered as the End Date. |
| Subsidiary | X-Outs reports are limited to a single subsidiary. By default, the subsidiary for the current workstation is entered. If necessary, select a different subsidiary. |
| Installation | By default, "All" is selected and cannot be edited. |
| Store | By default, the store to which the current user's workstation is assigned is selected. If necessary, select a different store from the drop-down. |
| Workstation | By default, the current user's workstation is entered. If necessary, select a different workstation from the drop-down. If you clear the Workstation field, all workstations will be included. |
| Drawer | By default, all Drawers will be included. If necessary, select a specific drawer (Drawer 1 or Drawer 2) from the drop-down. |
| Cashier | By default, the current logged in user is entered. If necessary, select a different user from the drop-down. If you clear the Cashier field, all cashiers will be included. |
| Till | By default, all Tills are included. If necessary, select a specific Till from the drop-down. |
Save X-Out Default Settings
After changing X-Out settings, you can preserve the current settings as the default settings, select Save Defaults. The next time you access the X-Out area, the saved settings will be displayed.
Revert to Default X-Out Settings
To return the X-Out screen to its original default settings, select Revert Defaults.