Node Preferences - Hardware - Printer Types
Printers in retail environments typically have specific specialized uses. For example, the printer used for printing price tags is usually different from the printer used to print receipts. Likewise, there might be a dedicated "backoffice printer" to print POs, vouchers, or slips.
Printer Types enable you to group printers by purpose or location. These Printer Types are used to select the Default Printer for the Print Dialog, and for selecting active printers for the Print action. A set of default printer types is defined (Receipt, Tag), but you can define you own types in Hardware > Printer Types preferences. After defining Printer Types, you can then assign a printer and printer type to individual workstations in the workstation record.
To add a printer type, click the "+" button. Type the name of the Printer Type, based on its intended use (e.g. "Receipt", or "Tag") and then save the changes.
You can edit a printer type by clicking the pencil icon.
You can delete a printer type by clicking the "X" button.
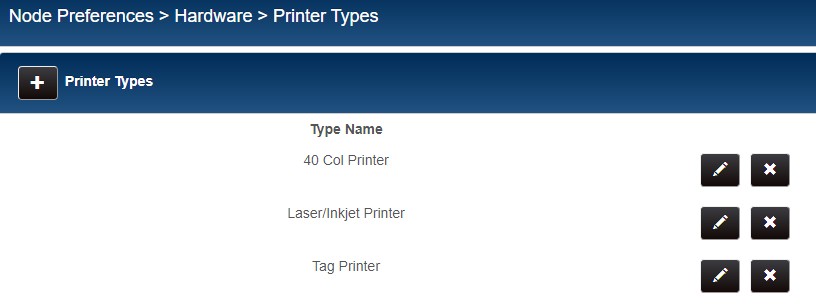
Sample Printer Types preferences:
Workstation preferences
After creating printer types, you can assign a printer type to individual workstations as needed. In the workstation record, select the Printer Types tab. Select a printer from the drop-down. Select the desired Printer Types for the printer and then save the changes.
Collating Copies
When multiple copies of a document are printed they will always be collated; Inventory Tags will always print uncollated.
- If the Collated check box is selected, when multiple copies of a document are printed, each page of the document will be printed in order before the next copy is printed.
- If the Uncollated check box is selected, when multiple copies of a document are printed, each copy of the first page is printed, then each copy of the second page, etc.